EasySign User Interface (UI)
This is the interactive UI for creating a signature-tool Agent-Clients experience.
EasySign UI - Introduction
The EasySign UI allows users to send “ad hoc” documents for signature.
This can be useful for example when:
- Documents received from a customer via email/fax, but are missing some details or signatures
- Documents that are created specifically for a customer, and not using an automated template (a contract created in MS Word for a specific customer).
- Organizations have no capacity whatsoever for integration. This feature can be effectively used in production without any integration.
How to use the EasySign UI?
- Use one of the following links (according to the selected environment) to open the UI:
Dev:
https://cusomer-id-dev.easysend.app/sign-agent/ Staging:
https://customer-id-staging.easysend.app/sign-agent/ Prod:
https://customer-id-prod.easysend.app/sign-agent/
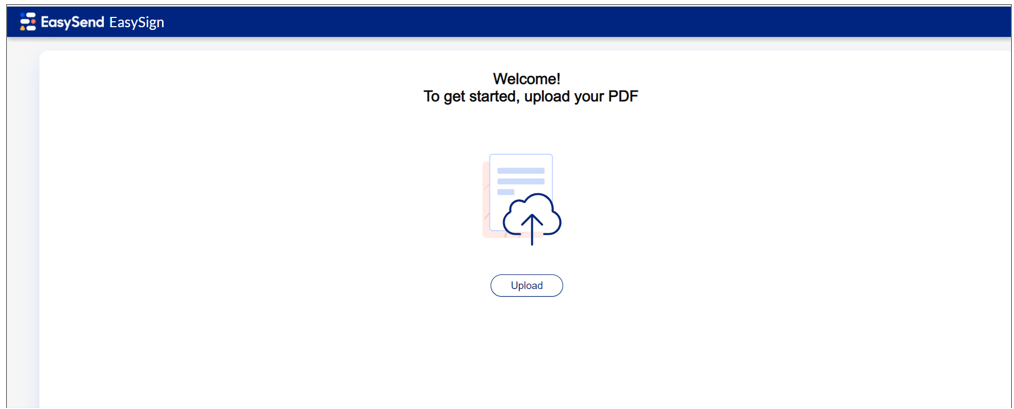
Opening Page + Upload Button
- Click the Upload button.
- Select a PDF file and click the Open button.
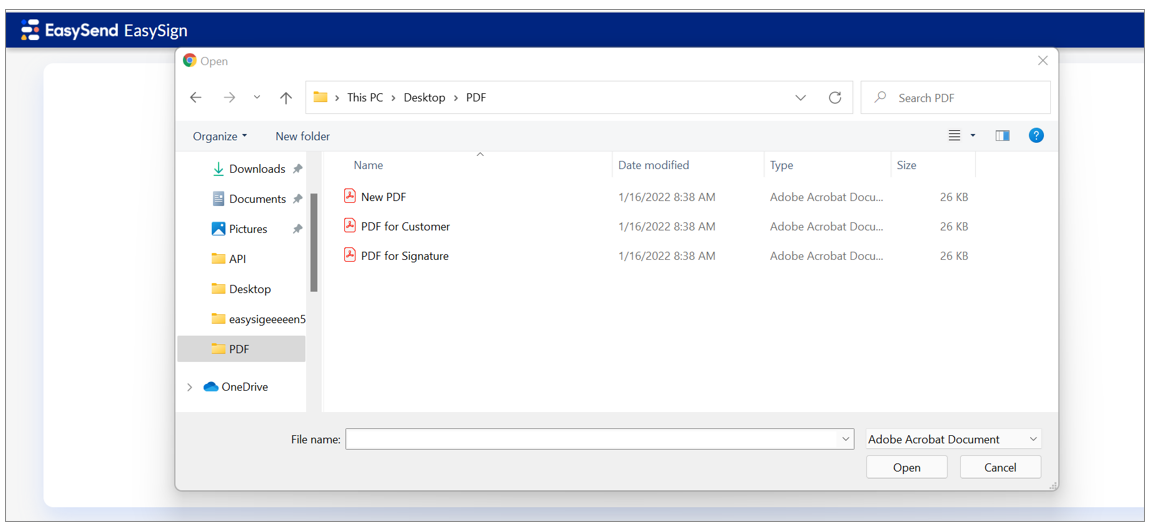
PDF Selection
- Decides who needs to sign - Me and customers or Customers only
- Enter the details accordingly.
- Click the Next button.
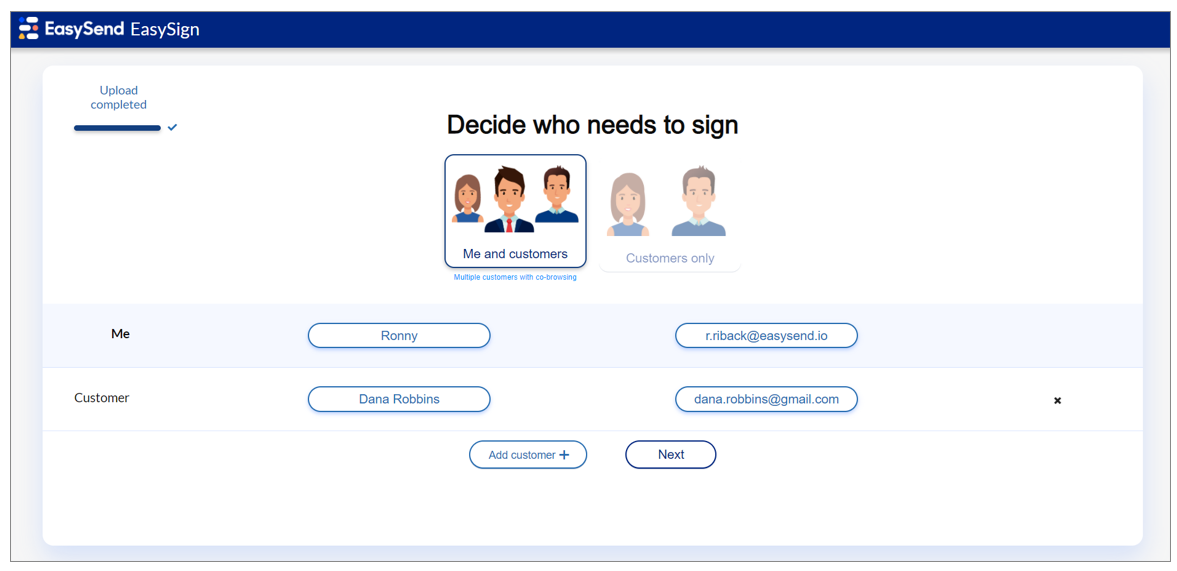
Who Needs to Sign
- Use the left click to mark and define fields on top of the PDF.
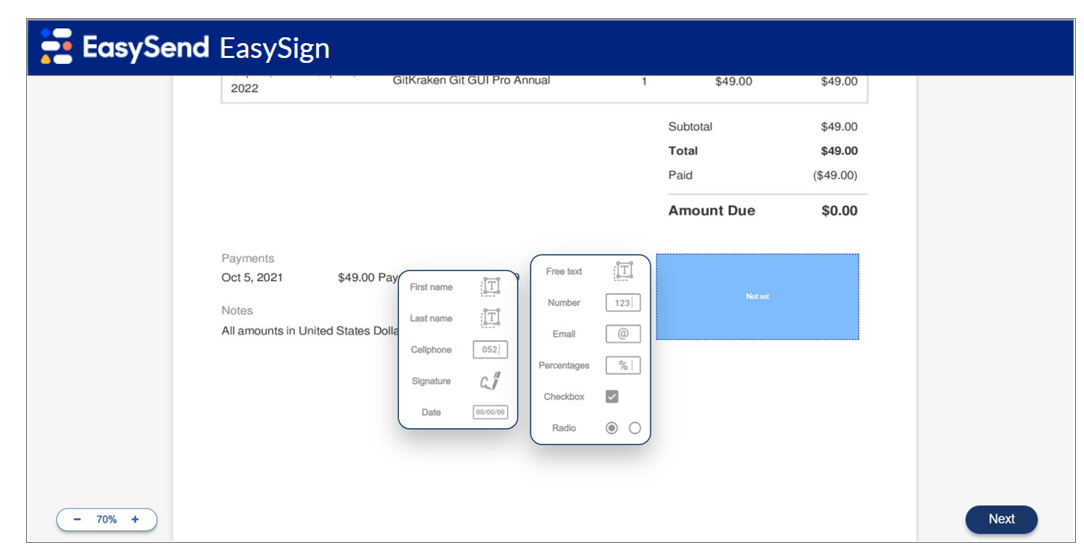
Mark and Define Fields
- Select Who should sign.
- Repeat steps 7 and 8 as necessary.
- Click the Next button.
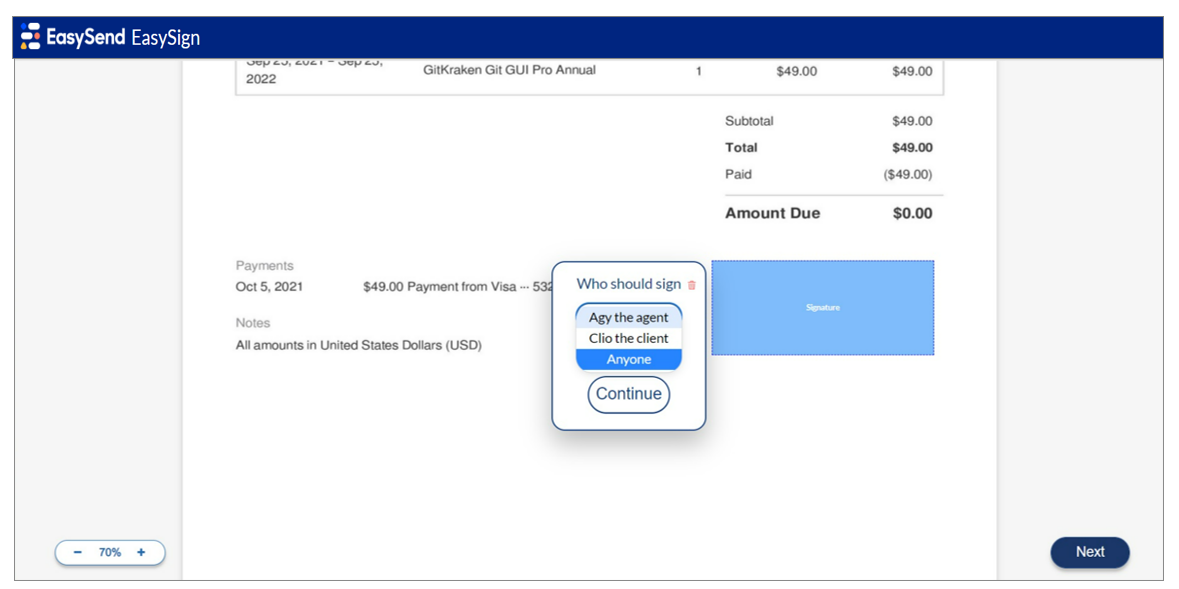
Who Should Sign Selection
- Click the Add attachment option to add attachments if necessary.
- Click the Next button.
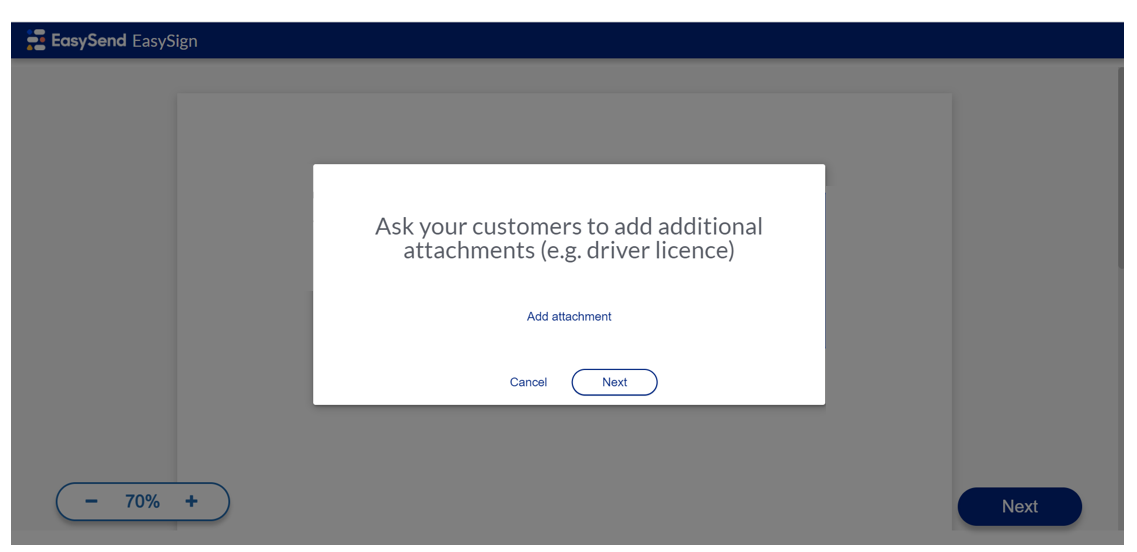
Attachments
- Click the "Send" button.
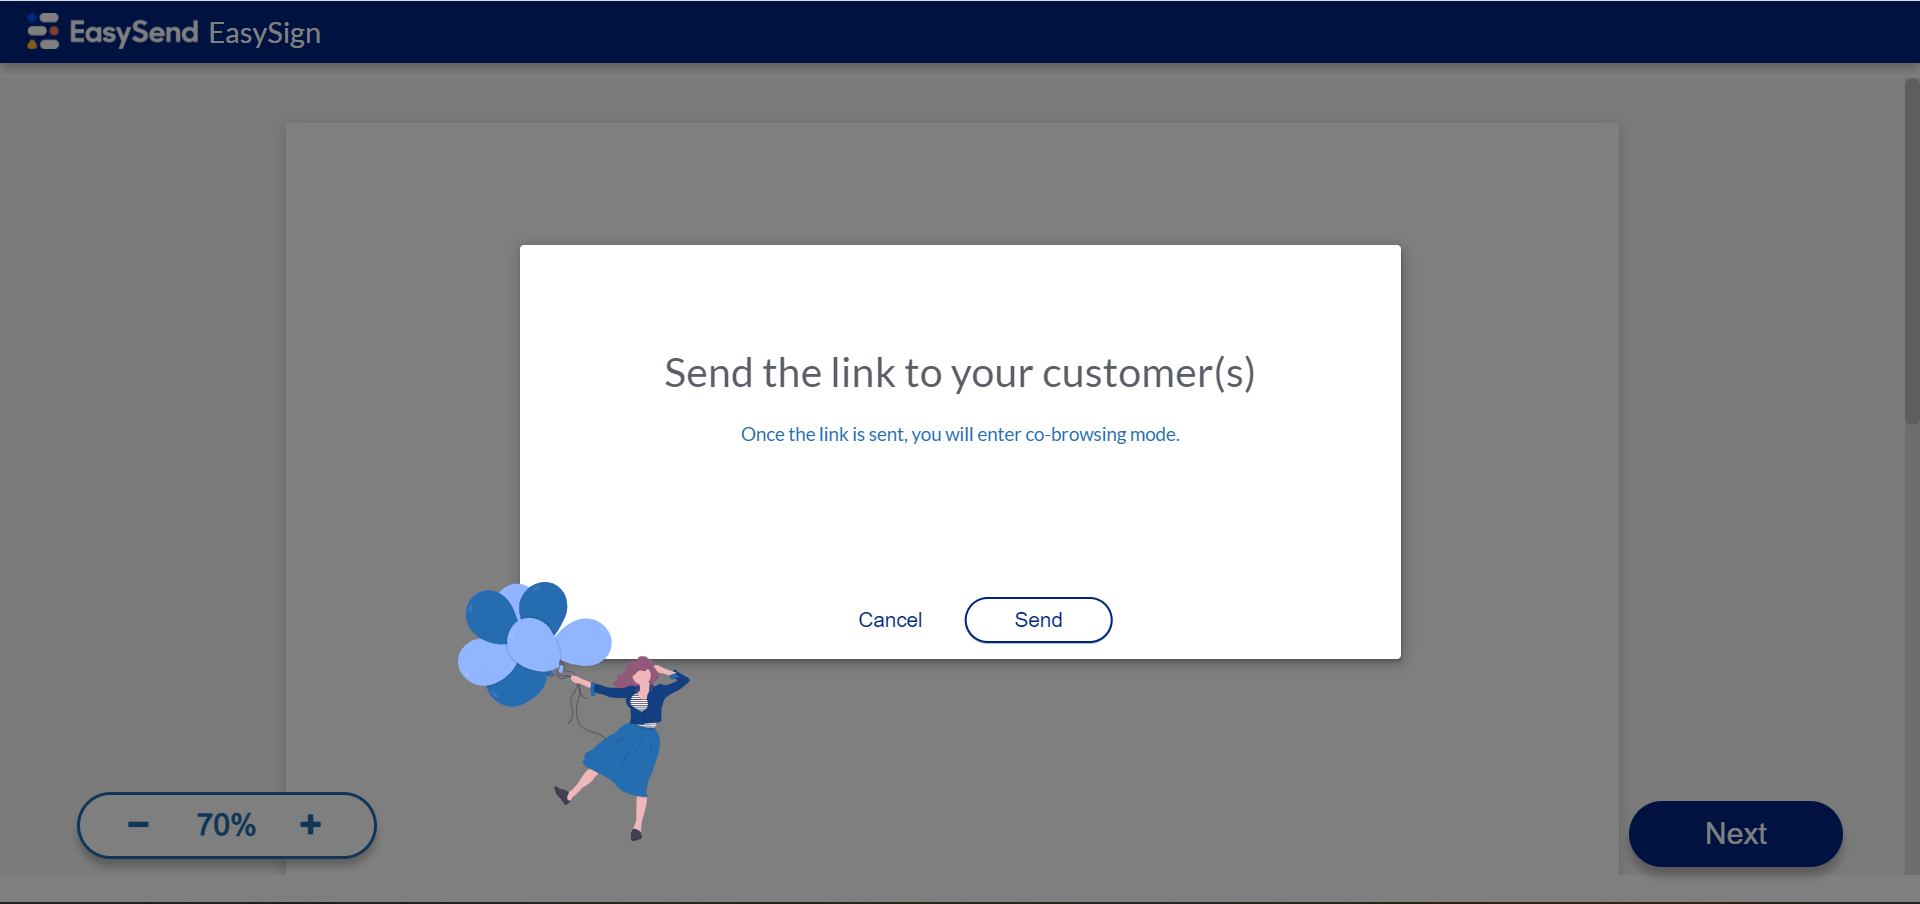
Send Form to Customer
- From the point of view of the customer, the form is received to fill out details.
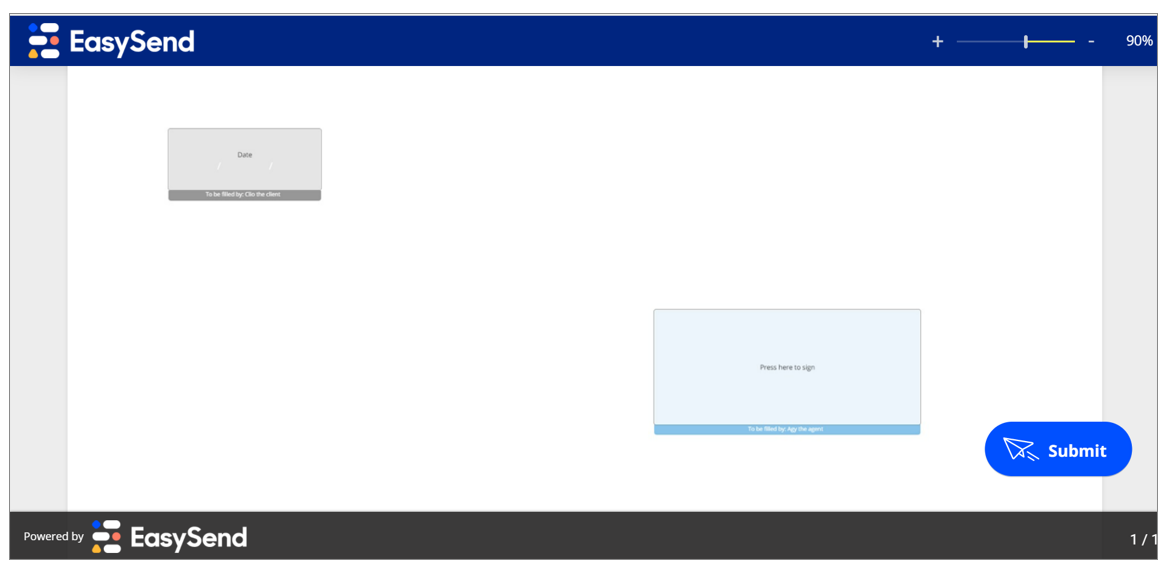
Form Received at the Customer
- For example, the signature of the customer.
- Once the details are filled out, the customer clicks the Submit button.
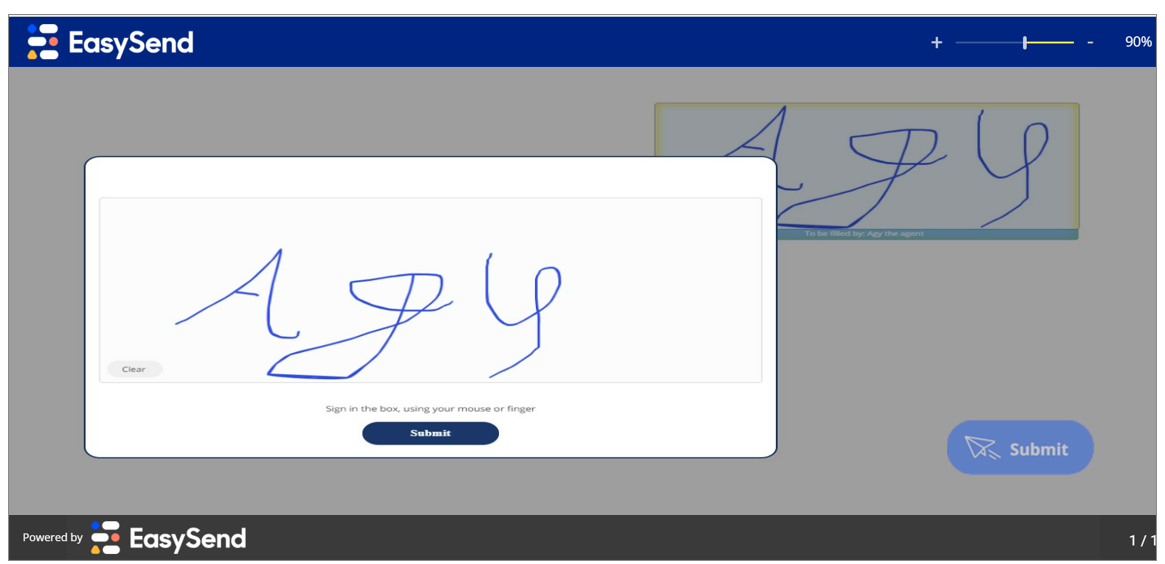
Signature
- The form is being sent.
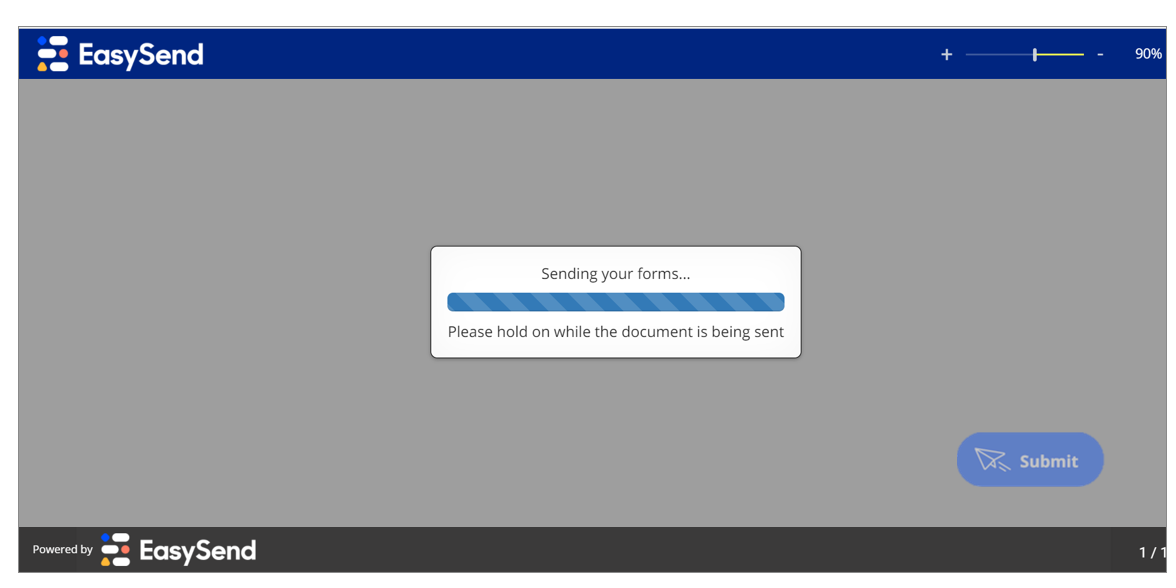
Sending the Form
- The Thank You screen appears.
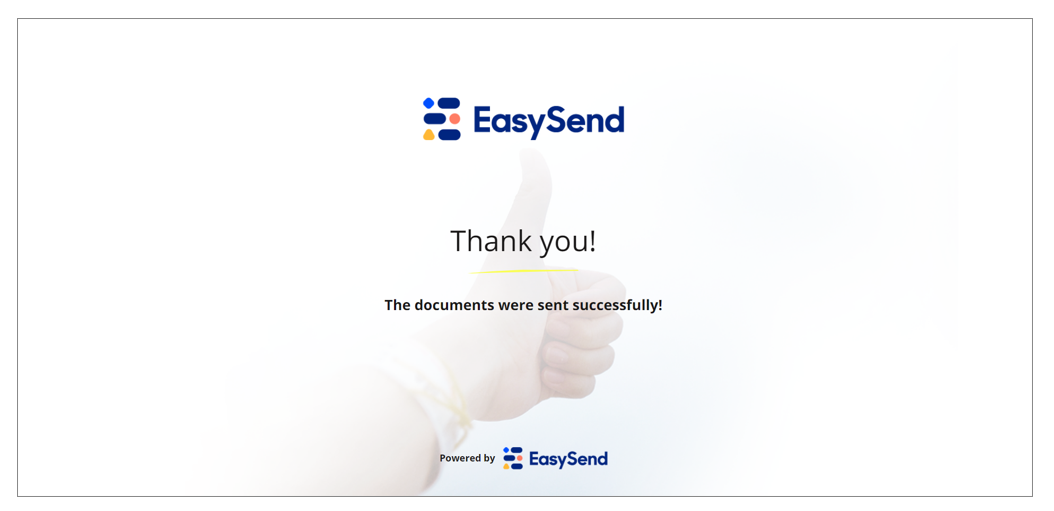
Thank you Screen
Updated 12 months ago